
Today we’re introducing a new column, Tips from Flavius, as an outlet for our technologically inclined celestial genius to provide valuable information to all of Aelion’s inspiring Immortals. Due to Flavius frequently becoming preoccupied with various experiments, he’ll be splitting this information up among numerous tips which cover various topics regarding Skyforge’s features.
Completing quests & providing assistance throughout Skyforge’s massive open Regions means a lot to the residents of Aelion. Flavius has agreed to share his experience related to the organization and understanding of how players go about completing adventures within Region zones.
Tip 1. When first entering a Region, open the map (M) to allow proper assessment of the situation. This shows the player the zone’s main quest chains, location of bosses, Uplink terminals, what quests are closest to you and more!
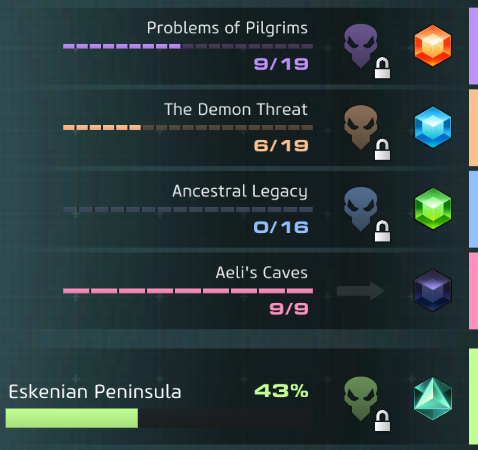
Tip 2. List of Quests: Each quest within the chain is marked by a dash and, provided the quest has a final boss, a skull. This list also displays the reward for completing the quest line, the progress of the chain, and your overall progress within the Region.
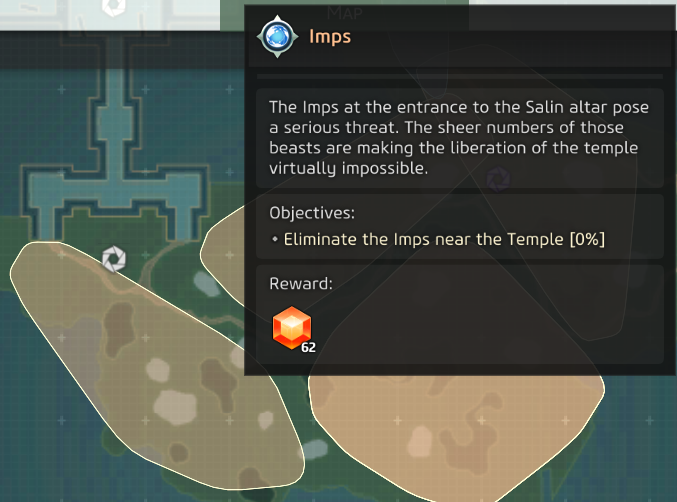
Tip 3. While viewing the map (M), hovering over the area of a quest displays its name, reward, and objectives.
These quests are also visible on the quest tracker and via a mission marker.
Tip 4. Quests are automatically applied to the player’s quest tracker as they get within proximity of the quest zone and are removed as you leave them. Quests are labeled to better display what that specific mission is for - Silver question marks indicate a storyline quest and Copper question marks refer to optional missions. Additionally, Region quests are displayed without a question mark if they are not storyline related.
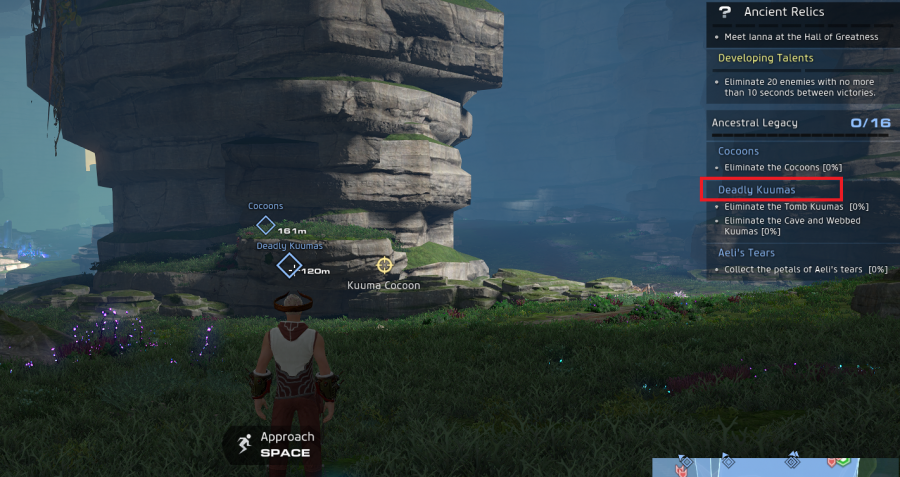
Tip 5. The mini-map can be used to help navigate towards the closest quests.
Tip 6. Uplink Terminals are activated for use after walking into them. Inactive terminals are grey, while functional terminals are purple.
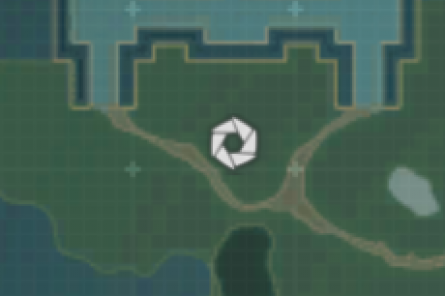
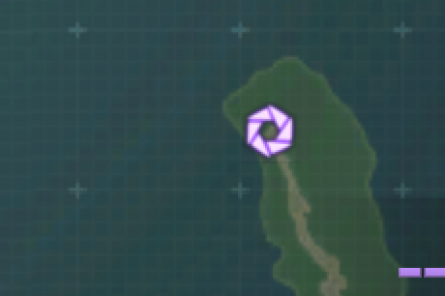
Tip 7. Upon opening the map (M), players may teleport to any active Uplink Terminal by clicking its icon.
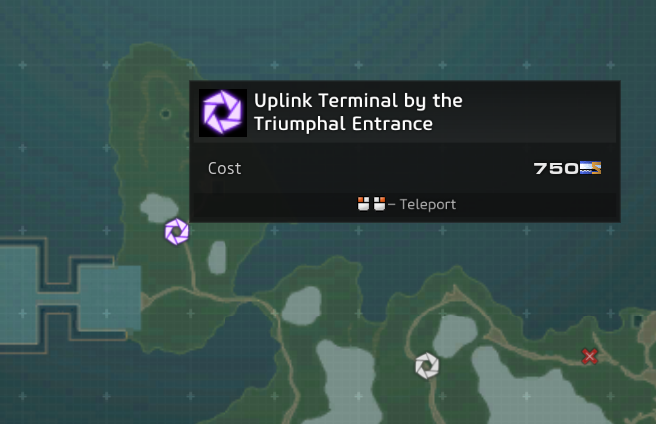
Tip 8. Uplink Terminals may be used to travel to the capital or any other activity identically to the map found within the Divine Observatory. This can be accomplished by standing near the Uplink Terminal and pressing SPACE.
Tip 9.The further players progress in a Region, the tougher the enemies become. If it proves too challenging, it may be beneficial to be run squad Adventures to increase Prestige or form a group to take on the fight together!
Tip 10. Leaving the Region using an Uplink Terminal to complete another activity will allow players to come back to the Region at another time – Quest progress will be saved.
Tip 11. All enemies within Regions are free-for-all. Simply attacking an enemy or applying a positive buff to those currently engaging the monster will count it towards your quest.
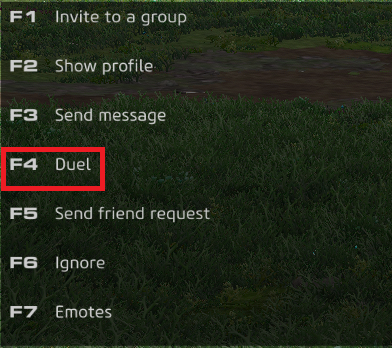
Tip 12. Players can be challenged to duels in Regions by targeting them and opening the player-menu (G).
Tip 13. Automatic movement is available within Regions much like other areas! Locate the diamond with the desired quest, highlight it with the crosshairs, and press SPACE to begin automatically traveling towards the quest’s area.
Tip 14. If quest progress is not being displayerd on the screen, all actions still count towards the quest’s progress. Completing any remaining quests can clear up space on the quest tracker.
Tip 15. Having issues finding a group for an Adventure? Complete quests within Regions for additional resource gains while waiting in the queue.
This concludes Flavius’s tips for Regions! Let us know if this edition of Tips from Flavius was useful, which information was new for you, and what would you like to read about in future issues.
 Discord


