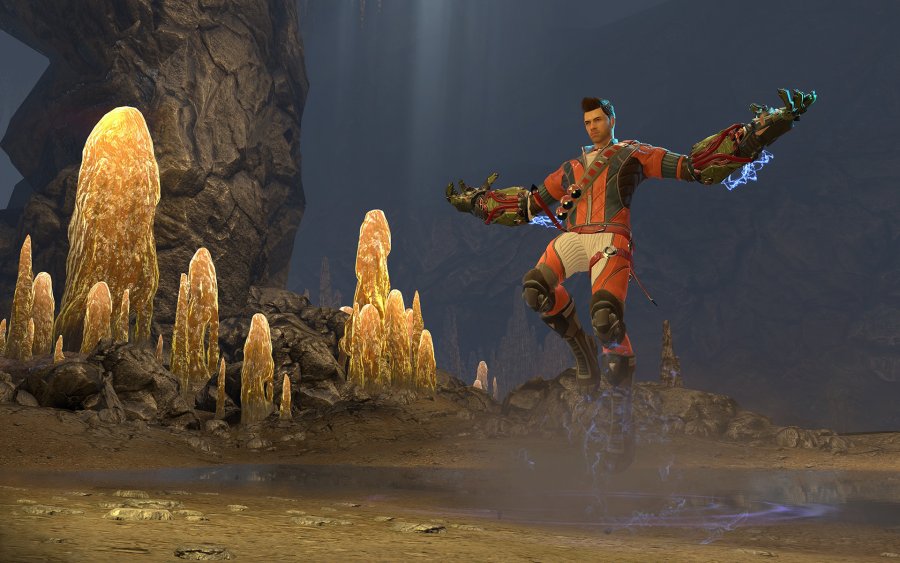
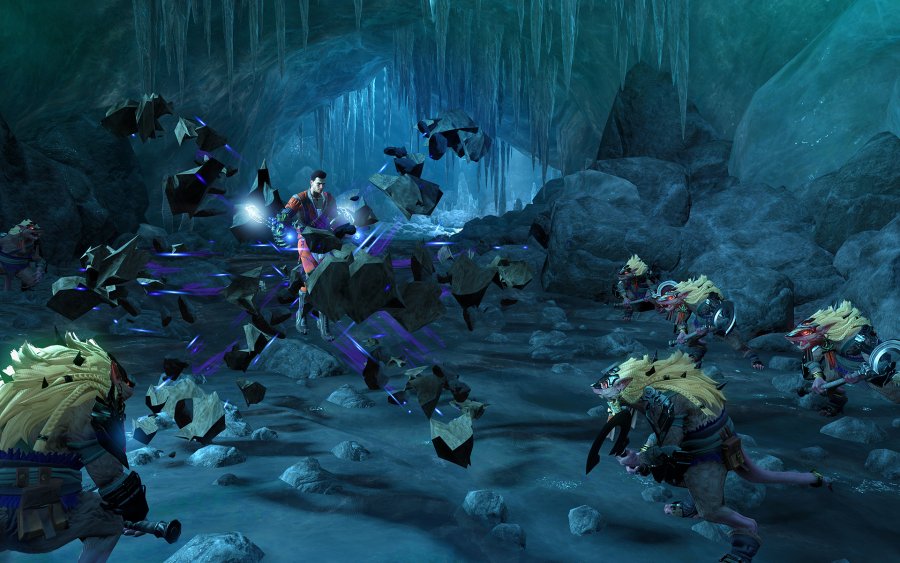
As a DPS (damage per second) class, the Kinetic uses powerful gravity-based barriers and attacks to bury its enemies under rock and rubble.

SOLO AND TEAM PLAY
The idea with Kinetic is to gather enemies together before destroying them quickly with your abilities. Bring as many enemies to you as possible and use Protective Shield (PvE only) to reduce the damage you may take in the process—remember that the shield reduces damage, not negates it altogether. Use Gravity Anomaly to trap them all and follow up with Energy Wave (charge level 3) which will do damage as it lifts them into the air. It deals damage based on the number of enemies it hits, which may not always finish everyone off, so use Seismic Explosion while your enemies are helplessly floating. This ability also deals additional damage for each enemy around you, so be sure to use it on large groups.
This is a good time to look for any enemies you can finish off with Obliteration to instantly recover all of your energy. If there are none, you can use Kinetic Pulse to recover energy if you’re out of it at this point, and wait for Gravity Anomaly to become available again to begin another onslaught.

When facing individual powerful enemies or bosses, start with Kinetic Pulse to apply Kinetic Charge to the enemy. When you have 12 stacks of this, use Gravity Trap (PvE only) and Gravity Anomaly. Unleash the power of both your Stone Projectile (hold down RMB) and Stone Spear (PvE only) in quick succession until you run out of energy, replenish it with Kinetic Pulse (while applying Kinetic Charge to the enemy again), and go back to Gravity Trap so you can continue crushing the enemies with as many rocks as you can fling.
If you become overwhelmed, simply use Luminous Burst to scatter and stun all enemies around you and get some distance. You can catch your breath a little by using Gravity Anomaly to slow oncoming enemies.
ATTRIBUTES
The Kinetic benefits the most from damage boosting stats, such as Main Damage, Critical Damage, and Critical Chance.
We’d like to thank our community for being fantastic as usual and lending a hand with this guide.

